Shantel Wall Photography
©Shantel Wall Photography
©Shantel Wall Photography
©Alyson Marie Visual
©Alyson Marie Visuals
©Mystache Photography
©Mystache Photography
©Heather Greene Photography
©Heather Greene Photography
©Tonie Christine
©Tonie Christine
©Tonie Christine
©Tonie Christine
©Tonie Christine
©Tonie Christine
©Vale And Grace
©Heather Greene Photography
©Heather Greene Photography
©Heather Greene Photography
©Heather Greene Photography
©Rebecca Ann Photography
©Rebecca Ann Photography
©Rebecca Ann Photography
©Heather Greene Photography
©Heather Greene Photography
©Heather Greene Photography
©Heather Greene Photography
©Heather Greene Photography
©Alyson Marie Visuals
©Alyson Marie Visuals
©Alyson Marie Visuals
©Alyson Marie Visuals
©Alyson Marie Visuals
©Ash & Vine Photography
@Ash & Vine Photography
©Ash & Vine Photography
©Ash & Vine Photography
©Missy Fant Photography
©Missy Fant Photography
©Missy Fant Photography
©Missy Fant Photography
©Sydney Alexandra Photography
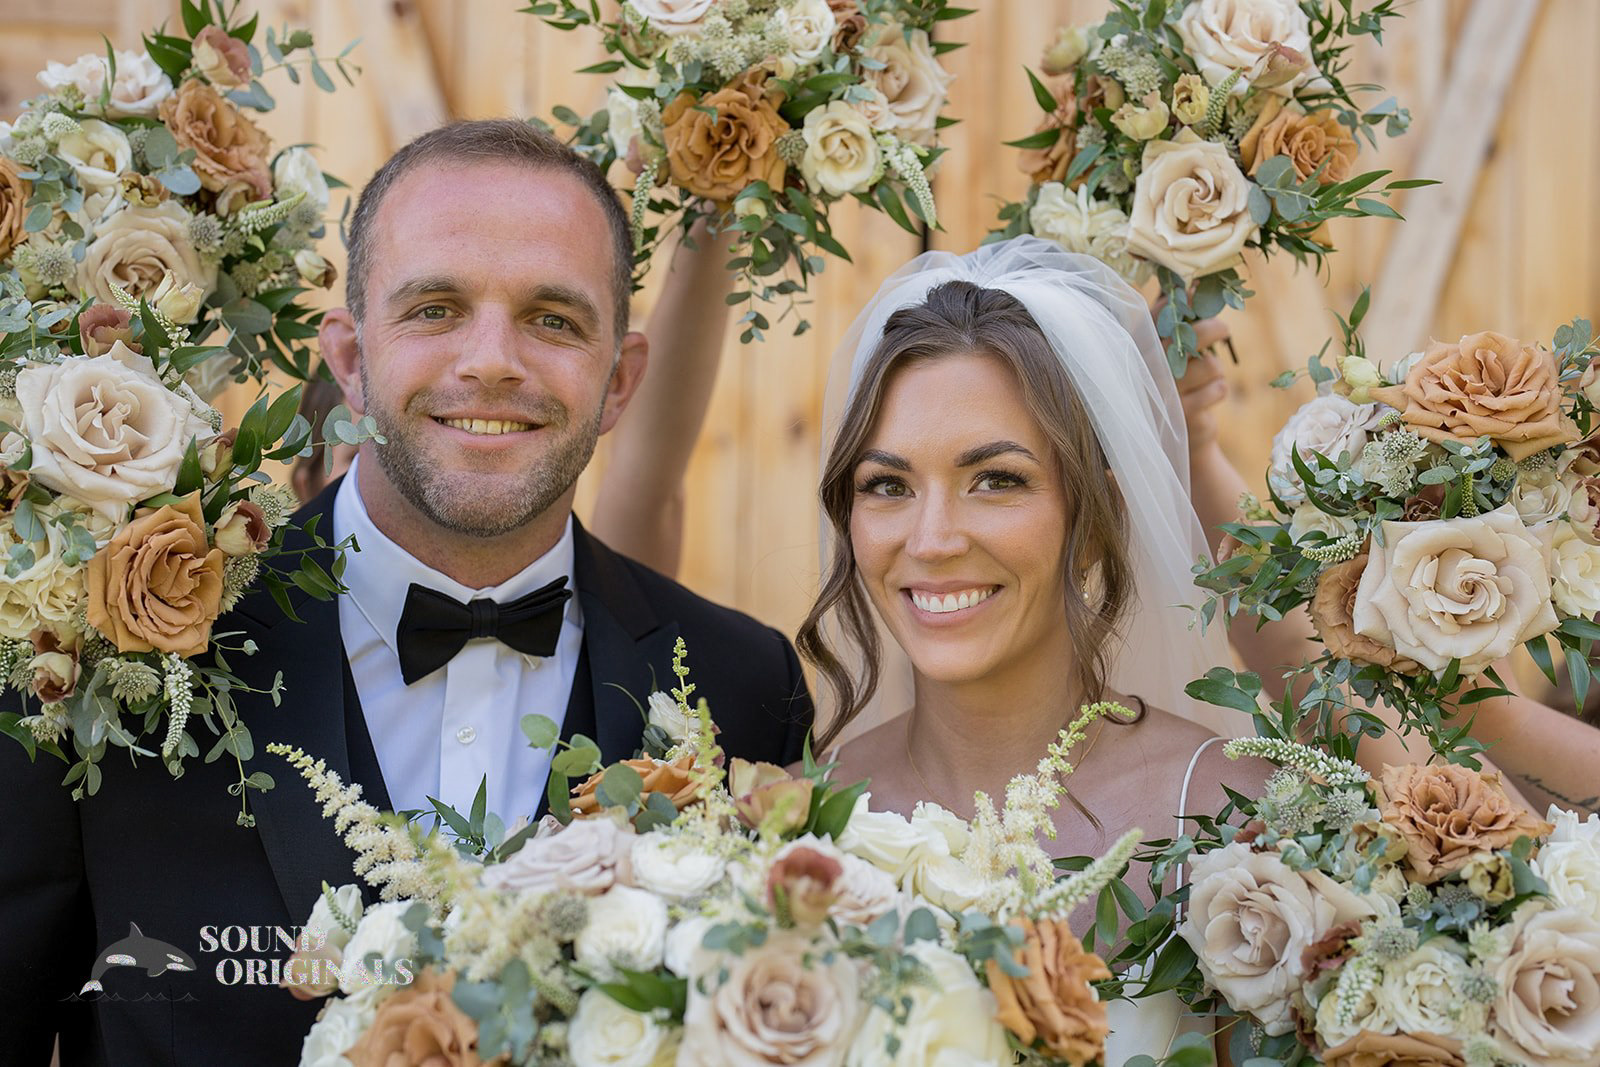
©Sound Originals
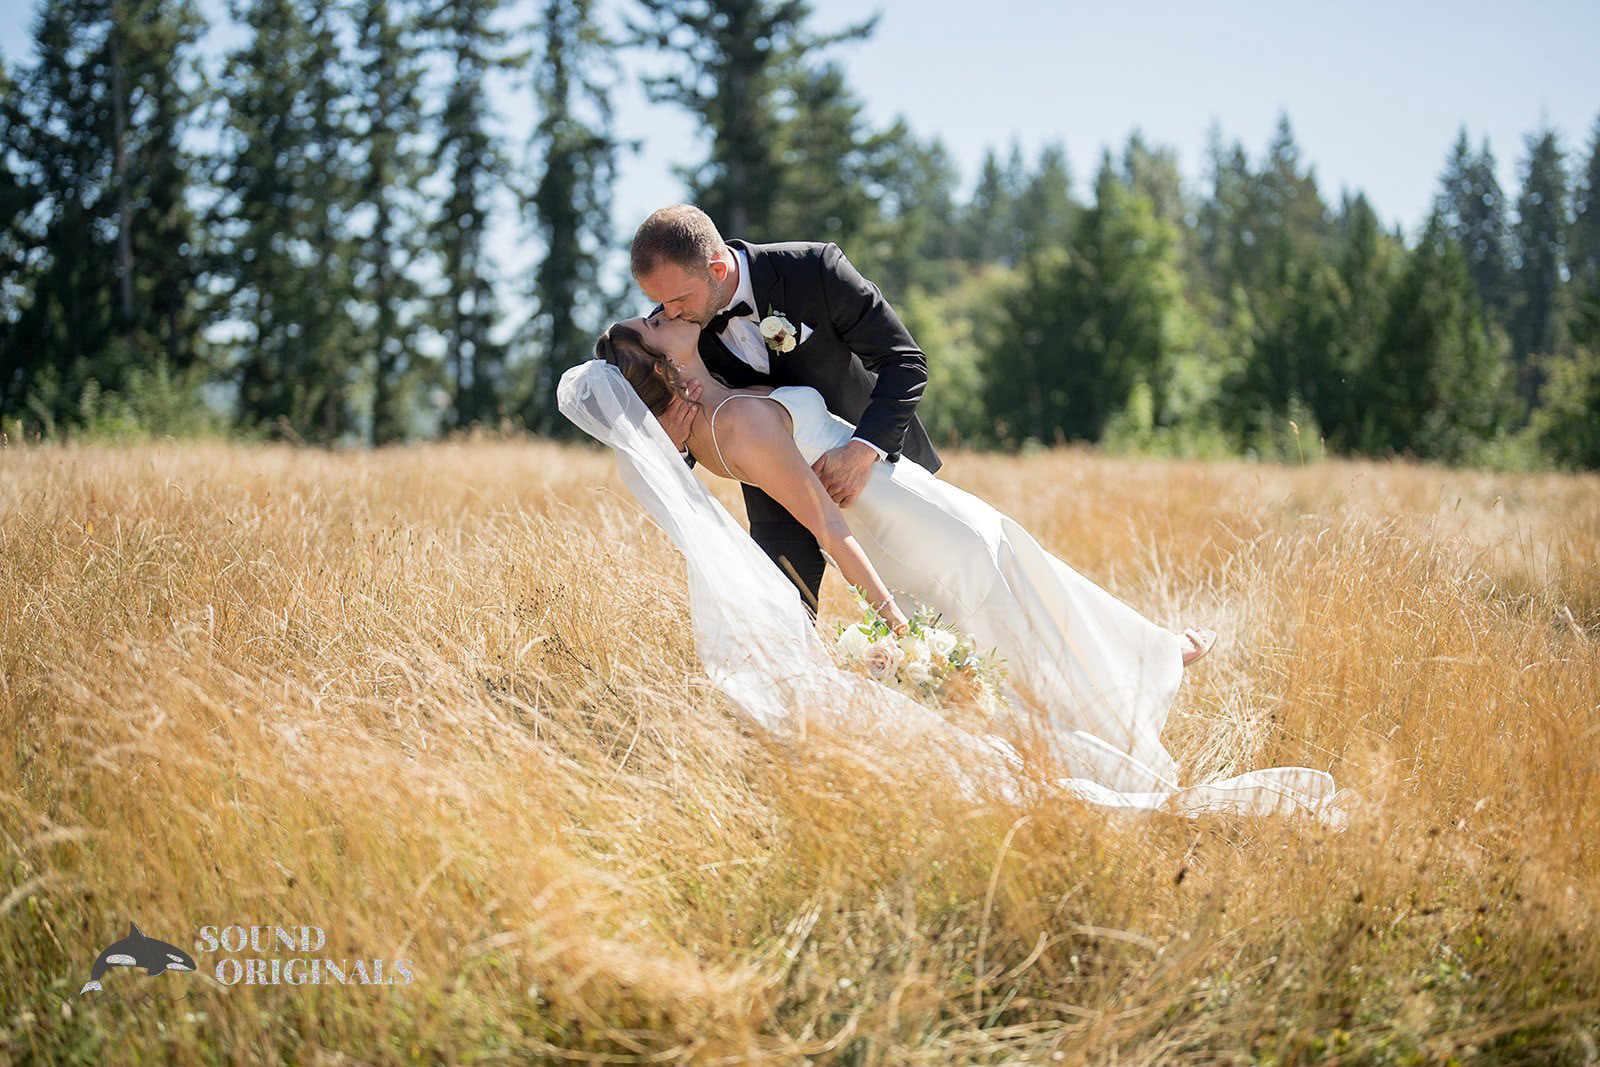
©Sound Originals
©Sound Originals
©Sound Originals
©Sound Originals
©Sound Originals
©Sound Originals
©Sound Originals
©Sound Originals
©Old Growth Photo & Film
©Old Growth Photo & Film
©Old Growth Photo & Film
©Knotted Pines Co.
©Jahni Lynn Photography
©Jahni Lynn Photography
©Heather Greene Photography
©Images by Danielle
©Images by Danielle
©Images by Danielle